Showing posts with label handmade. Show all posts

Sunday, April 25, 2021

Five Vintage DIY Wedding Decoration Ideas on a Budget


Vintage themed weddings are one of the most popular styles right now. Adding this style to your wedding decorations can be fun and inexpensive when you do it yourself! This article will provide you with instructions on five vintage DIY wedding decorations ideas you can make on a budget.

1. Vintage Glass Centerpieces

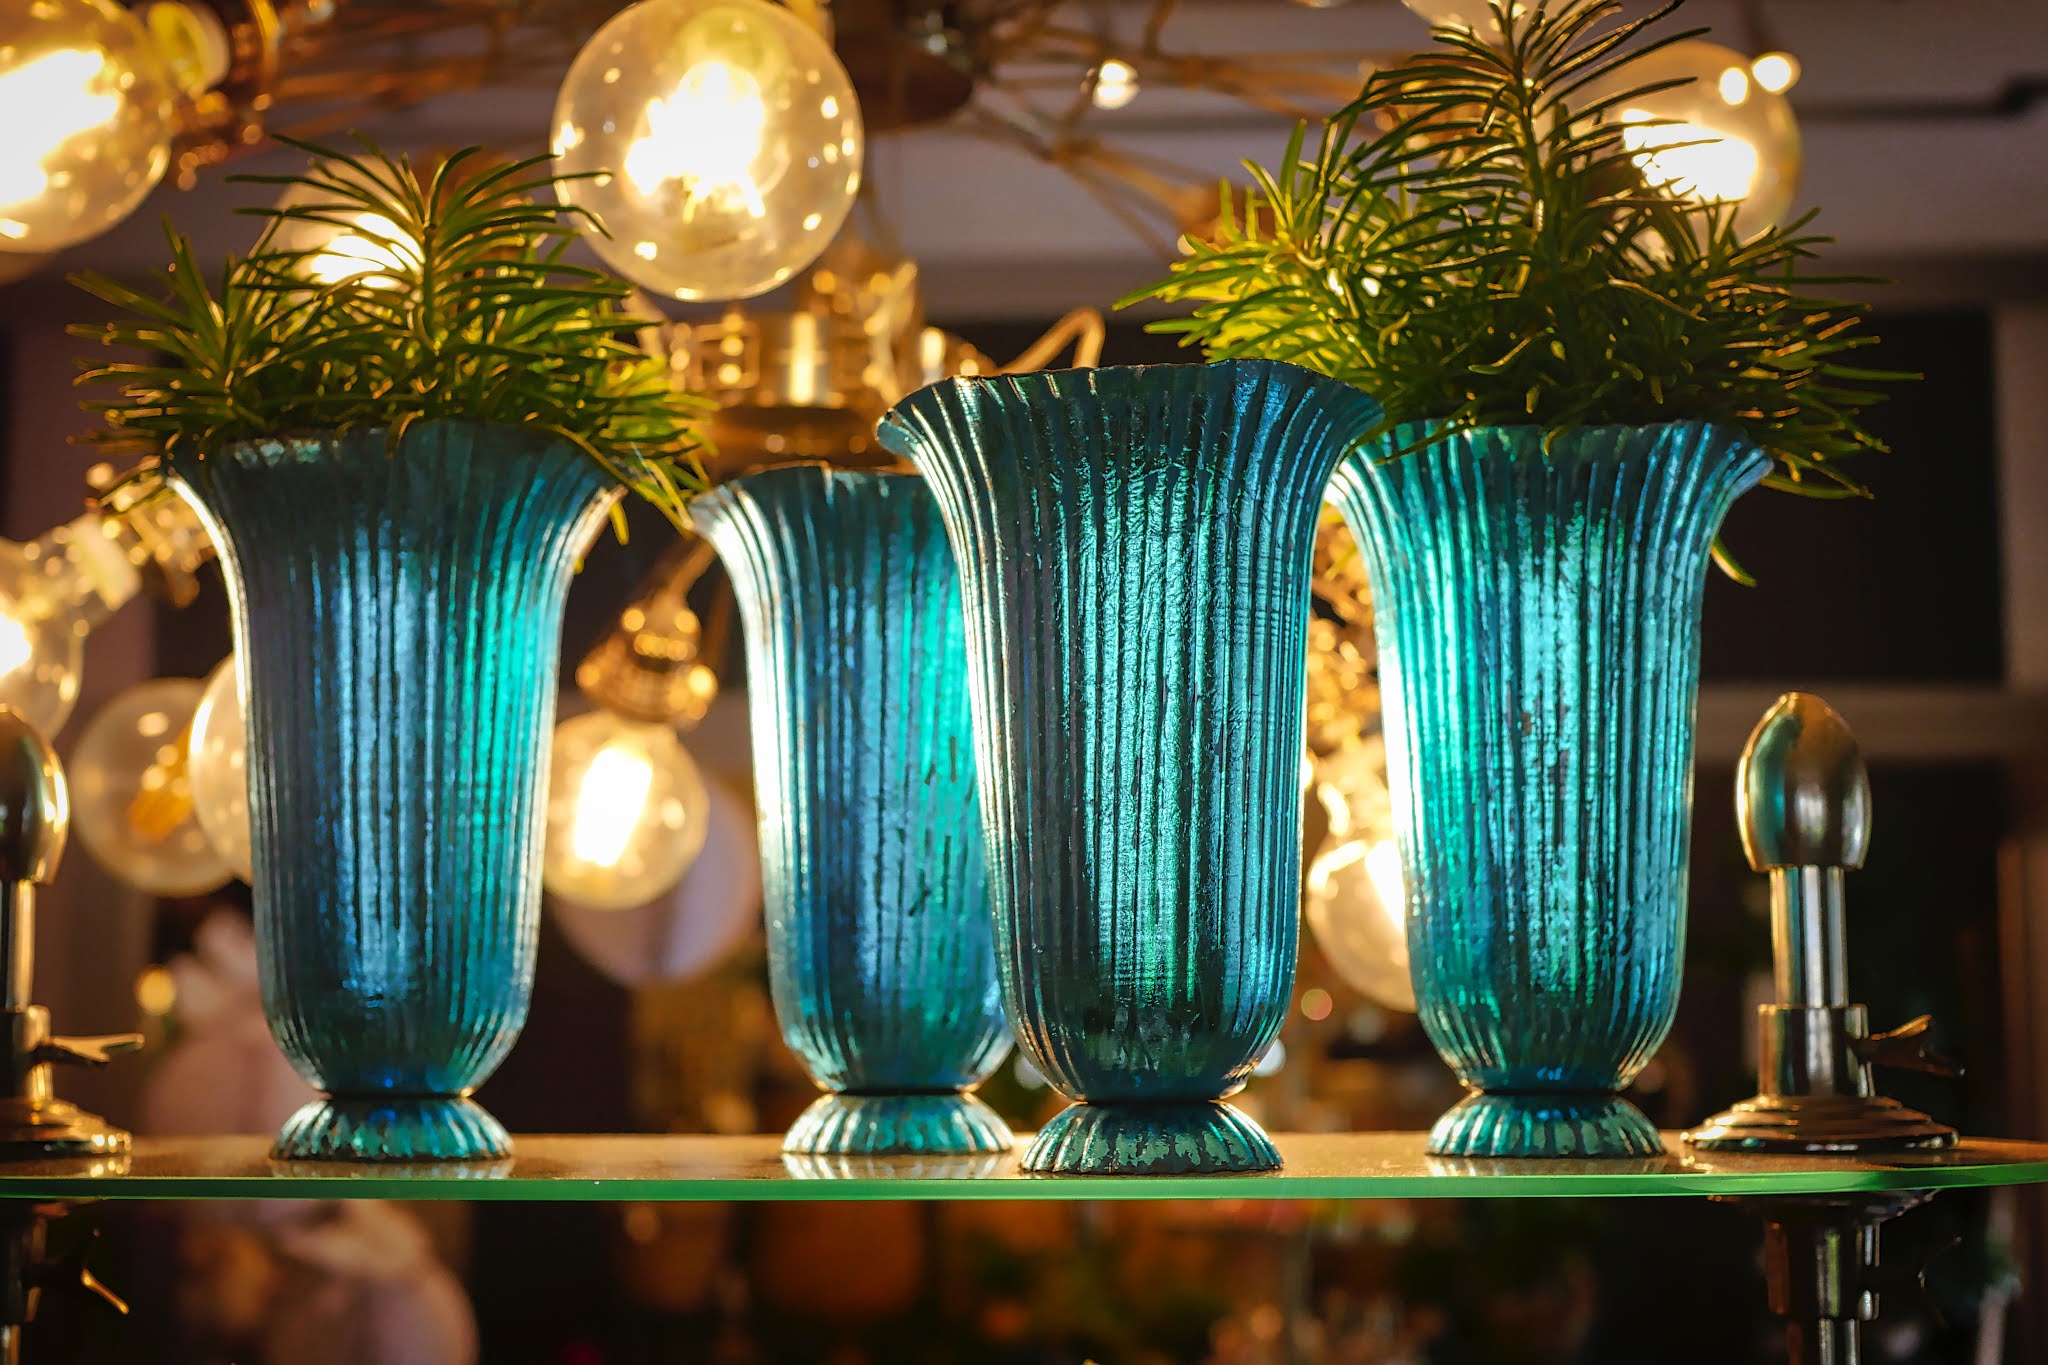
Centerpieces are a great way to display your vintage style. You can find inexpensive vintage and vintage inspired glass vases, bottles, and jars on the internet, thrift stores, and at yard sales. Simply gather a bunch of these glass pieces together on a table and flowers, painted branches, or feathers to the jars to create a one of a kind centerpiece that can also be used as a party favor. You can also add lace or ribbon to the bottles to bring in your color scheme!

2. Suitcase Card Box

A vintage suitcase is a wonderful and unique way to add charm to your wedding decorations. For this DIY project, all you will need is some pretty fabric, fabric markers, some fabric glue, and a small vintage suitcase. Drape the fabric on the inside of the box and add the glue to secure it in place inside. Then use the markers to make a sign for the cards on a smaller piece of fabric. Glue this to the inside of one sides of the suitcase. Just stand the suitcase halfway open to display your sign, and you will receive tons of cards and compliments.

3. Book Page Flowers

Vintage book pages make great flowers that can be added to all different parts of your wedding décor. To make these paper flowers you will need vintage paper, skewers or wooden dowels, hot glue, a glue gun, and scissors. Start by cutting a five-inch circle from a piece of paper. Start on one edge of the circle and use the scissors to cut the circle into a spiral. Then glue the beginning of the spiral to the end of the dowel. Wrap the spiral around the dowel, gluing along the way, and you will have created a lovely flower for your wedding day.

4. Mason Jar Lanterns

To make mason jar lanterns on a budget, simply check out your local dollar store for jars and votives. Then remove the flat part of the lid and add a votive to the inside of the jar. You can tie cord around the lips of the jars to make them hang able if you like. You can also add ribbon or flowers to the outside of the jars to make the DIY decoration even more special.

5. Distressed Fancy Frame Signs

Another useful decoration is a framed sign that is hand distressed. Simply purchase some inexpensive fancy frames from your local craft or dollar store. Then paint them white. Using sand paper, steel wool, or a metal brush, lightly rub the frame to distress the paint and give it a unique and vintage look. Then print out or handwrite the signs on nice paper and add them to the frames.

These DIY projects are inexpensive and easy. They will help you make your own wedding decorations on a budget while incorporating your own unique vintage style.

Friday, April 23, 2021

3 DIY Kitchen Window Treatments


Adding a nice window treatment to your kitchen can really brighten up the mood, and it is easy and fun to do on your own. Making your own kitchen window treatment can be inexpensive as well as personal. Here are three methods for making your own perfect window treatment.

For a thrifty and resourceful kitchen curtain simply pick out two kitchen dish towels that are long enough and wide enough to cover your window. Next find a think piece of ribbon that matches your towels and your kitchen. Fold the ribbon in half and attach it to the towel on the top. This will create a pocket to stick a curtain rod through. You can sew the folded ribbon to the towel or you can glue it. The hem tape that you iron to activate also works well for this project. You can add fake flowers, more ribbon, buttons, or other embellishments to the curtains if you like. Finally string the curtains on the rods and hang.

Another fun and unique kitchen window treatment requires the use of scarves. You can use several pretty scarves, or you can simply use one. If you are using one scarf you can fold it to make a triangle and hang the corners through the hooks for the curtain rod. If you have a couple more scraves that are long braid or twist them together in the middle and drape around the window. Let the ends hang loose for a dramatic effect.

For a very personal and attractive look utilizes handkerchiefs or bandanas. You can use many different colors and patterns to make this window treatment even more exciting. Simply tie the end of each handkerchief around a curtain hook and string onto the curtain rod. For another neat handkerchief look fold the handkerchief into a triangle and tie one end of a handkerchief to a curtain hook. Next tie the other end to another curtain hook, but also tie the end of another folded handkerchief to that hook. Continue until you make a chain slightly bigger than your window. Finally finish the window treatment by stringing the hooks onto the curtain rod and hanging it.

Creating a fresh look in your kitchen is as simple as creating your own custom window treatment, and these three ideas will help you get started on renewing your kitchens appeal. The techniques you have learned here will inspire and delight you and your kitchen guests for long to come. So go get crafty!

Garden Crafts: Wire Plant Stakes


Spring is here and garden crafters should be enthused! There are so many fun garden craft projects, and it is the perfect time to get crafty for your garden. Plant stakes add detail and intrigue to your garden while serving a necessary purpose. This article will provide you with detailed instructions on creating wire plant stake crafts for your garden.

Butterfly

Wire is the perfect medium for creating plant stakes for your garden, and you can make a lovely butterfly using wire. For this garden craft you will need wire, pliers, wire cutters, beads, and a metal or wooden garden stake.

Start this craft by cutting six pieces of wire using the wire cutters. The wire pieces should measure 9 inches, 6 inches, and 4 inches. Then add some beads to various parts of the two sets of longer wires. Twist all of the pieces of wire into spirals, but remember to leave a few inches at the end untwisted.

Then wrap the shortest pieces of wire around the top of the garden stake and leave the spirals facing outward to look like antenna. Add the longest pieces of wire below the antenna to be the top wings, and continue in the same fashion with the medium sized wire spiral.

Finish this garden stake craft by cutting another piece of wire and add four beads to it. Then lay the four beads along the top end of the garden stake to look like a body, and use the extra wire on the ends to secure the beads in place by wrapping the wire around the stake and the beads.

This easy wire garden stake craft is a fun way to help the plants in your garden while being crafty!

Sun

Another way to use wire to add a plant stake to your garden is by making a sun shaped plant stake. For this easy garden craft you will need wire, a garden stake, wire cutters, and pliers. You may also want to use something round to make a perfect circle. Start this craft by cutting a long piece of wire using the wire cutters.

Form a circle about 4 inches in diameter around and twist the excess wire to secure the circle in place. Then cut a very long piece of wire and use the pliers to curl the end into a U shape. Place the curve around the circle of wire and use the pliers to bend it shut tight. Wrap the wire around the circle one more time to secure it in place.

Then bend the wire about an inch away from the circle to make a point and wrap the wire back around the circle twice to secure it in place; this will make a sun ray. Continue around the circle until your sun is complete, and use the excess wire to attach it to the garden stake.

This easy garden craft is fun to make, and it will add a unique detail to your garden.

Tuesday, April 20, 2021

10 Easy Ways to Add Lace to Your Wedding Decorations


Lace is beautiful and adds romance and charm to any wedding. You can purchase lace cheaply and in a variety of colors and patterns at local craft stores. This article will provide you with 10 easy ways to add lace to your wedding decorations.

1. A lace table runner is easy to make; just cut the lace to suit the length and width you will need. This will add texture and detail to your wedding table while also bring in an extra color from your wedding scheme.

2. A lace banner is easy enough to make. Just cut lace into rectangles and paint letters on each one with fabric paint. Then glue or tie the letters to a long cord so you can hang it wherever you need some style at your wedding venue.

3. Fabric flowers are very popular and they are easy to make with lace. Simply cut circles of lace in varying sizes. Then layer them on top of each other and sew a pearl into the center. You can then hot glue a wire to the back of the flower and add it to your wedding decorations.

4. Pew bows can be made with a variety of lace. Lace ribbon and lace fabric are both suitable for this project. You can make a simple two loop bow using a large piece of lace, or you can make a more complicated many loop bow using lace ribbon and wire.

5. Placemats can be made directly using lace because it does not fray on the ends. Simply cut the lace into the appropriate size and shape. You can also use lace ribbon to dress up simple place mats.

6. There are many pretty garlands that can be made using lace. Garland is a great wedding decoration because it can be hung or draped anywhere there is space. To make a simple lace garland you can cut strips out of lace and loop them around a long cord. This is accomplished by folding a strip in half and slipping the cut ends through the loop while keeping the cord inside the knot.

8. Card boxes are a fun way to store cards for easy access and reply later, and they are a fun element to decorate for your wedding. Creating a card box is as easy as wrapping a present. Just remember to leave a small slot in the top so the cards can slide in. Add some lace ribbon around the box using glue or glue on some lace appliques.

9. Using ruffle lace to border the bottom edge of place cards is another really charming way to add delight to your wedding.

10. Table number signs can easily be overlooked, but they provide an opportunity to show you DIY skills. Simply use a stencil to trace numbers onto a piece of lace and glue it to a piece of card stock that has been folded in half. Using contrasting lace and paper will make the number stand out, and folding the paper will make the table number sign stand up.

These simple tips and projects make it easy to add lace to any wedding decoration. Subtle details like these provide big impact on your big day!

Friday, May 20, 2016

Sword,Iron Railroad Spike Sword, Medievil Sword,Hand Made From...


Sword,Iron Railroad Spike Sword, Medievil Sword,Hand Made From Railroad Spikes, Medevil Sword, Spikes Railroad Bolt design,Ornamental Sword

Check out more pics here!


from Tumblr http://ift.tt/1U5lwMc
via IFTTT

Monday, March 28, 2016

Glitter End Table,Silver Glitter End Table,Glitter Table,Silver...


Glitter End Table,Silver Glitter End Table,Glitter Table,Silver End Table, Silver Glitter Top, Glitter Top Table, Hand Made Glitter Table

Check out more pics here


from Tumblr http://ift.tt/1Mxi8wx
via IFTTT

Friday, April 24, 2015

Wedding Guest Book, Shabby Chic Guestbook, Vintage, Stamped...


Wedding Guest Book, Shabby Chic Guestbook, Vintage, Stamped Wedding Book, Lace Wedding book, Pink Gold Glitter Wedding Book, Decoration


from Tumblr http://ift.tt/1DINXHE
via IFTTT

Gishmas 2021 List

 Day 1 Challenge: December 20th – Image or Video What powers GISH? Love, actually. So, let’s spread some cheer. Using the GISH App or search...